
At last - I remembered to take pictures of the Heath Robinson binder setup!
This is what I bought from the hardware store - they come in a pack of 2 and are for securing windows. There's a better picture on the B&Q website. I just wanted something that stick up through the slot on the binder, and enable me to fasten it with a nut or something - spent ages looking in the nuts & bolts section before I spotted this. The only trouble was that the vertical bit was too big - because it is designed to go through the handle of a window, the 'lock' that comes with it is a sort of bolt but it has a sort of top on it so you can only screw it down so far. So DH mounted it underneath a piece of wood, drilling a hole for it to poke through (see next photo!). I also bought a cheap pack of table clamps to secure the 'gizmo'.
Here's the prototype:

Unfortunately, DH used a tape measure which came out of a Christmas cracker to do the measurements (and if you saw our garage you'd know why he couldn't find a decent one....). It's ended up a centimetre too low. Oh well, it's only a prototype!! It does work though, but I think it would work a lot better at the right height - stretching the ribbing at a funny angle doesn't help.
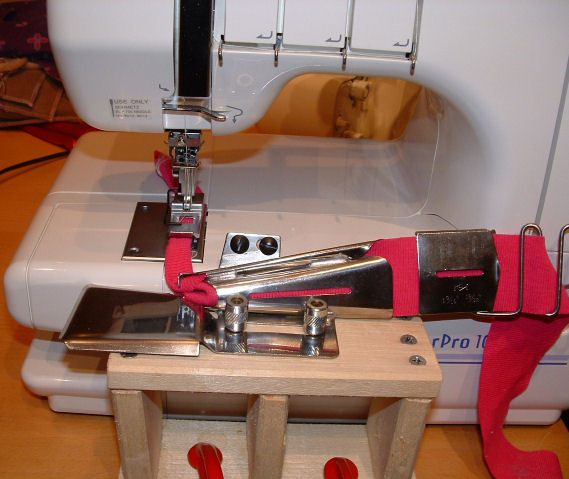
Here's another view- I want DH to saw off the front of it so I can butt it up closer to the machine, it's too far away at the moment. The window lock thingys prevent it going much closer to the machine, so he's going to cut the front off those for me. When he gets round to it.....
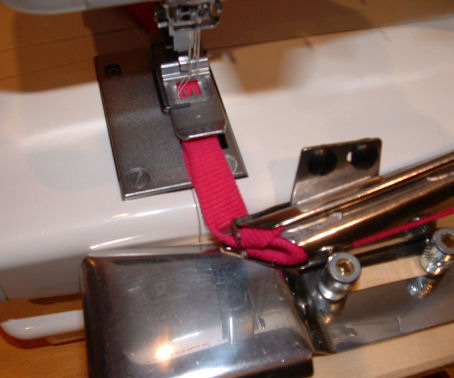
Here's a closeup from above. You can see the 'bolt thingies' (technical term!) that go on the window lock. The great thing about these is they come with a key which fits in that square hole you see on top, so you don't need to mess about trying to get a nut tightened with a spanner in that small area.
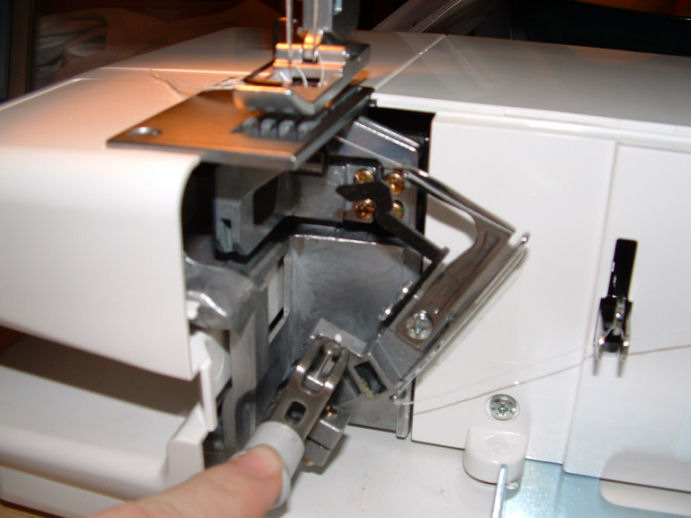
inside :)
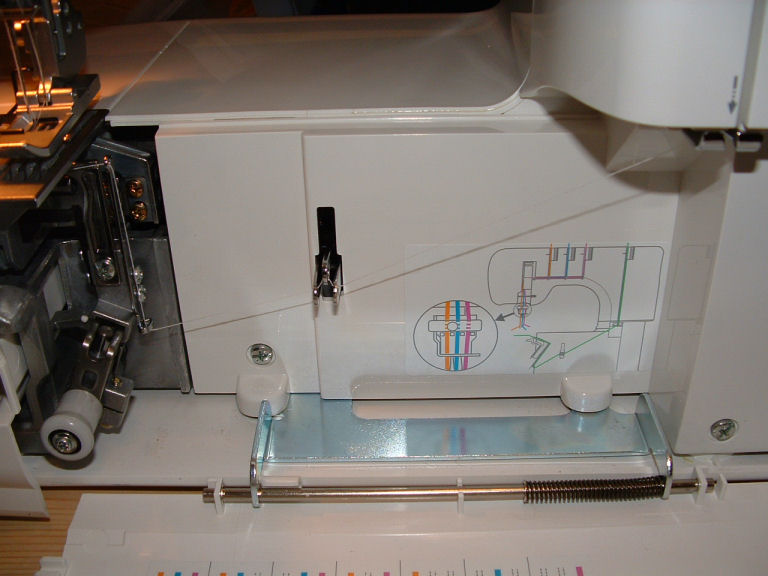
the looper release knob
closeup of front
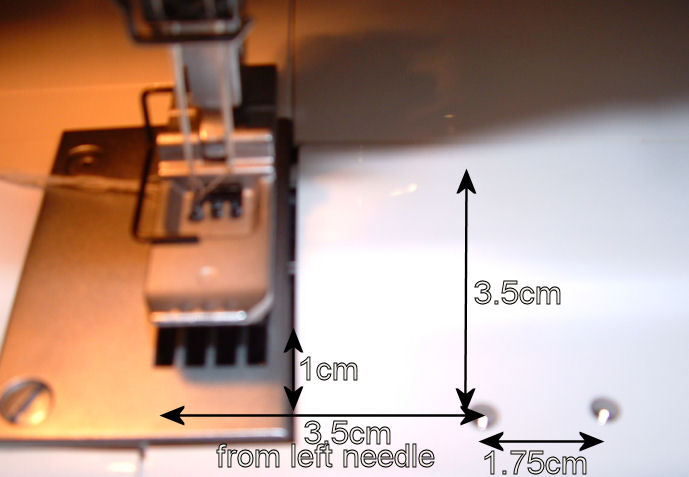
 front showing screwhole positions
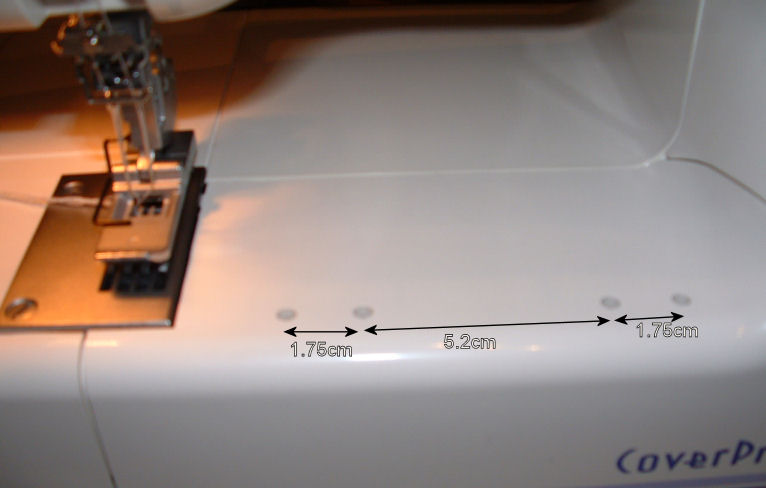


not a very good picture of the reverse - the picture of the front was even worse!!!